

In the world of modern communication and data transmission, Outside Plant (OSP) installations play a crucial role in connecting businesses, homes, and communities.
From high-speed internet to telecommunications networks, OSP projects are the backbone of our connected world.
This blog will take you through the various stages of an OSP installation, from the initial planning and design phase to the installation of fiber and comprehensive testing.
What is an OSP Installation?
An OSP (Outside Plant) installation refers to the deployment of telecommunications or fiber optic infrastructure outside of buildings, typically in outdoor environments such as underground conduits, aerial poles, or direct-buried pathways.
These installations are designed to withstand harsh environmental conditions, including temperature extremes, moisture, and physical damage. OSP installations are crucial for connecting different buildings, campuses, or entire cities by extending network connectivity over long distances.
They often include fiber optic cables, splice enclosures, cabinets, and other protective equipment to ensure reliable signal transmission.
OSP installations follow strict industry standards to maintain network integrity and longevity. They require specialized techniques such as fusion splicing, weatherproof enclosures, and proper cable management to minimize signal loss and damage.
Common applications of OSP installations include telecommunications networks, internet service providers, utility networks, and large-scale infrastructure projects. As demand for high-speed data continues to grow, OSP fiber installations play a critical role in supporting modern broadband and 5G network expansions.
Stage 1 of OSP Planning: Design
Planning the Route of Your Network
The first and most critical stage of an OSP installation is designing the network's route. Here, you'll make several crucial decisions:
What is your OSP Construction? Aerial, Direct Burial, Underground, or Underwater?
Depending upon the route your cables need to travel, you may need one of, or a combination of, these OSP project types.
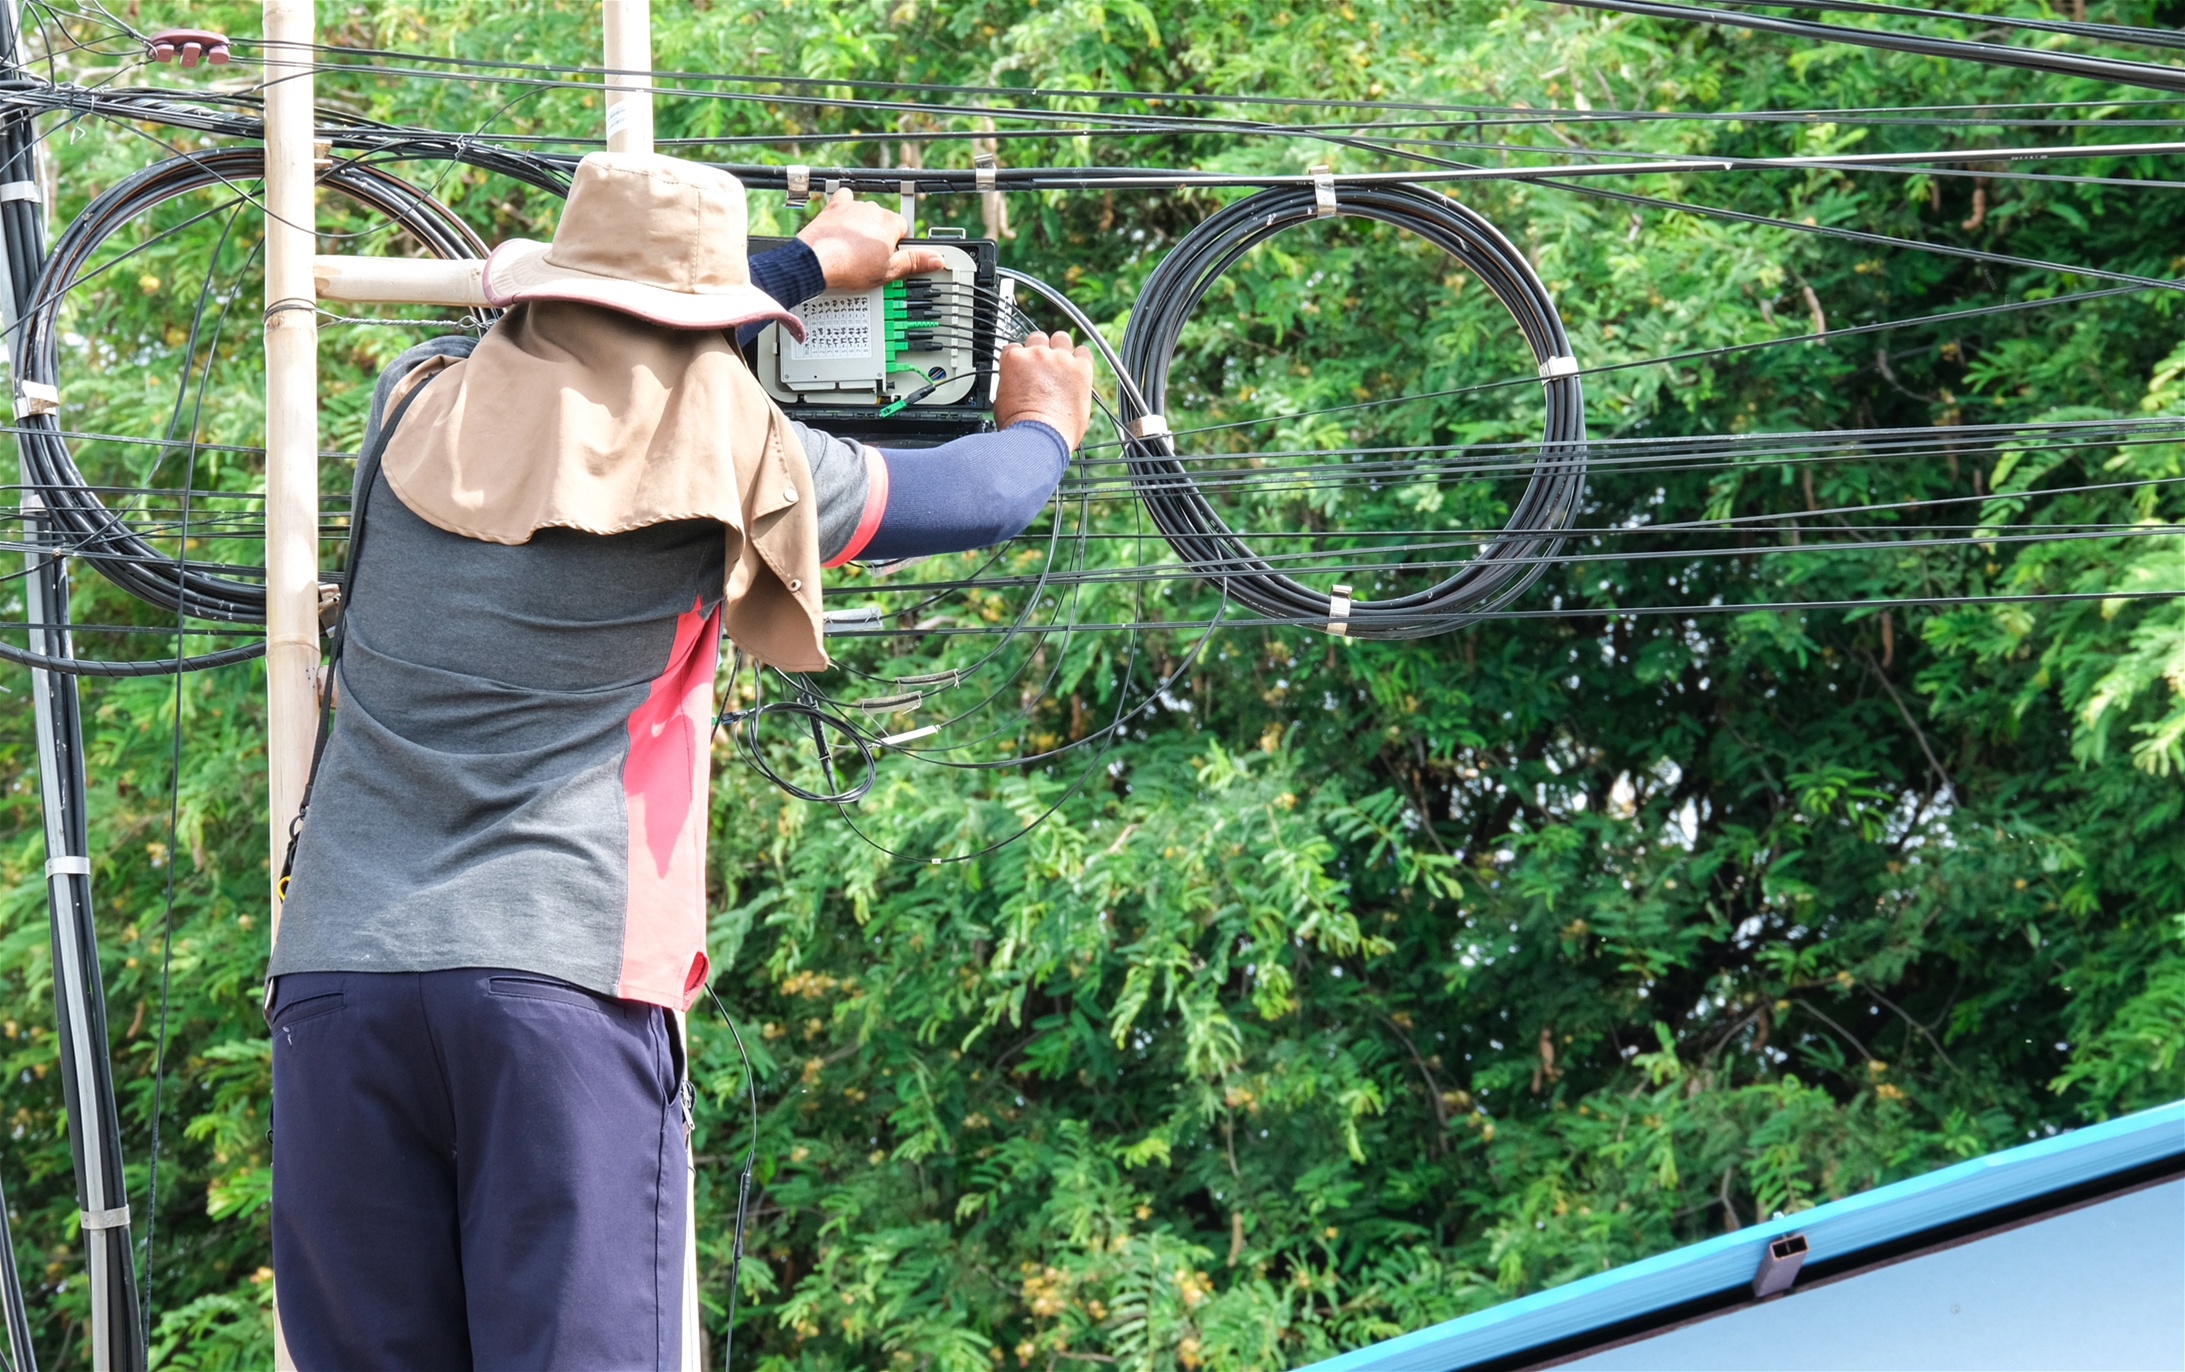
Aerial installations involve hanging cables on utility poles and are common in suburban and rural areas.
Direct burial involves burying cables directly underground, which is suitable for less populated areas.
Underground installations use conduits or trenches for cable placement, ideal for urban environments.
Underwater installations, though less common, are used for subsea cables.
In order to determine which method(s) you may need, you should always conduct a site visit.
Site Visits and Safety Measures
Conducting thorough site visits are very important in order to assess the terrain and local conditions you or your installation team will encounter. A site visit is often a requirement for contractors to even be able to bid on the project.
These site visits include walking or driving every foot of the route to determine what obstacles you may see.
The site visit will also uncover what areas your team will need to dig, if you are implementing direct burial or underground OSP projects. Implementing a safe digging practice and getting the right permits will help to avoid accidentally damaging any existing cable infrastructure.
If you are connecting your outdoor installation to an indoor premise, you’ll want to inspect every area of the building to understand what any hazards to watch out for, such as fire hazards.
Finally, you’ll need to obtain the necessary permits and permissions for digging and construction your installation team will conduct. Always call before you dig, not only to avoid damage, but also to avoid unknown high voltage electrical cables or high pressure gas lines.
Selecting the Right Equipment
Selecting the right type of fiber is crucial for your project, as singlemode and multimode fibers serve different purposes. While singlemode used to be the go-to choice for all OSP projects, advancements in technology have expanded the options. In fact, many OSP projects now incorporate both singlemode and multimode fibers.
For underground cabling installations, using a 4-inch conduit pipe is an excellent choice. This not only safeguards your cables but also ensures easy maintenance in the future.
To simplify cable installation and potential repairs, consider employing pulling tape, which can streamline both processes.
In cases of aerial cables, you may need to install supporting structures such as poles and towers if they're not already in place.
For underground installations, inner-duct manholes and vaults are essential components to consider.
Lastly, it's crucial to map out a dedicated storage space for excess cables and equipment, ensuring efficient management and future maintenance.
Stage 2: Installation of Fiber
The installation of fiber is a critical phase in the OSP project, where the well-planned design begins to take physical shape. This stage involves a series of tasks and steps to ensure that the fiber cables are correctly placed, protected, and secured.
Cable Installation
Preparation
Before installation begins, ensure that the cable reels and associated equipment are on-site and ready for use. Organize the cables and verify their lengths to match the design plan.
Cable Pulling
For aerial installations, cables are pulled through overhead support structures like utility poles and towers. For underground installations, they are laid in conduits or trenches. This process requires specialized equipment like cable pulling machines and tension monitors to ensure a smooth and controlled installation.
Conduit Placement
In underground installations, conduits are often used to house and protect the fiber cables. Careful attention must be paid to conduit placement to prevent bends or kinks that can affect signal quality.
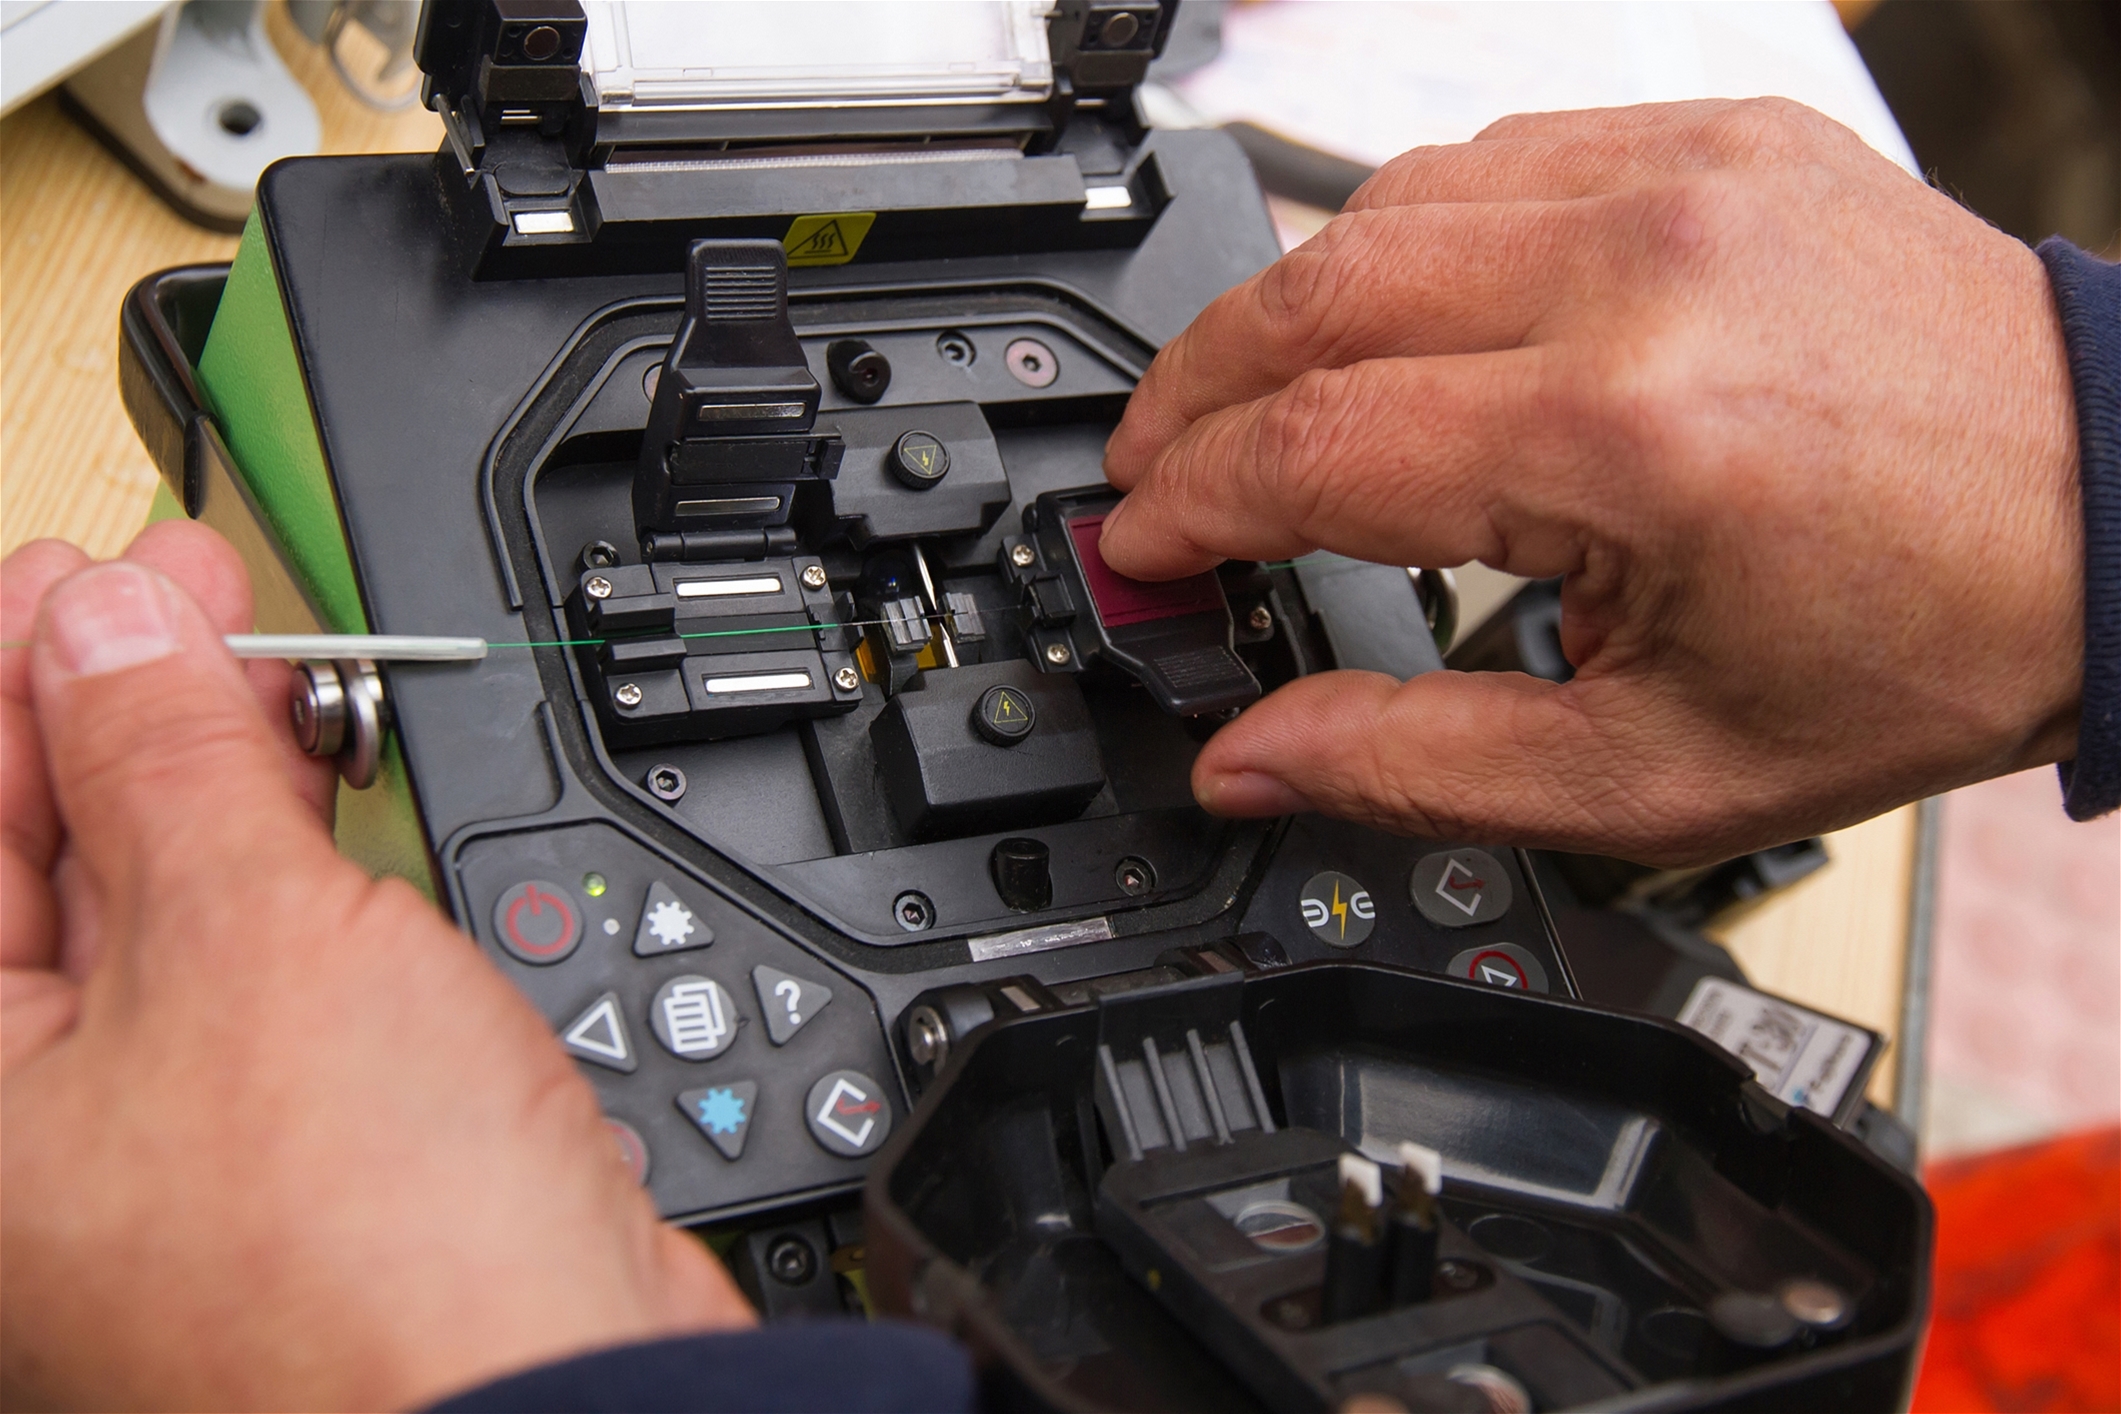
Splicing
In situations where multiple cable segments need to be joined, splicing is performed. Fiber splicing can be done using fusion splicing or mechanical splicing, depending on the project's requirements and specifications.
Sealing and Encapsulation
For underground or underwater installations, it's essential to ensure that the fiber cables are sealed and encapsulated properly to protect them from moisture, dirt, and environmental factors. This helps maintain the integrity of the network.
Cable Tension
Maintaining the proper tension while pulling the cables is crucial to prevent damage. Excessive tension can cause fiber breaks or signal loss, while insufficient tension can lead to slack loops.
Installation in Vaults and Inner-Duct Manholes: In underground installations, inner-duct manholes and vaults are used to provide access points for maintenance and repairs. Careful installation and labeling of cables within these structures are vital for efficient future network management.
Safety and Quality Control
During the installation of fiber, it's paramount to adhere to safety guidelines and maintain quality control.
Implement strict safety measures to protect workers, pedestrians, and the environment.
This includes using appropriate personal protective equipment, cordoning off work areas, and preventing accidents or damage to existing infrastructure.
For quality control, you should inspect the cables and splices to ensure they meet the specified standards and design criteria. Any deviations or discrepancies should be addressed promptly to maintain network integrity.
Cable Management
Proper cable management is essential for OSP installations.
Ensure that the cables are routed along the planned paths and secured to supporting structures such as poles, towers, or conduit clamps.
Create service loops in appropriate locations to allow for future expansion or repairs without excessive cable tension or the need for additional splicing.
Each cable should be labeled accurately to aid in troubleshooting and maintenance. Clear and consistent labeling is essential for efficient network management.
Document the installation process, including cable types, lengths, splice locations, and any deviations from the initial design. This documentation is invaluable for future reference.
By paying meticulous attention to the installation phase, you can ensure that the fiber network is installed correctly, and the foundation for a robust OSP system is established.
Proper installation sets the stage for the next crucial phase: testing the network to confirm its reliability and performance.
Stage 3: Testing
Developing a Test Plan
After the fiber is installed, rigorous testing is necessary to guarantee the network's performance and reliability.
Develop a comprehensive test plan that outlines the testing process, criteria, and goals.
Tools Needed for Testing an OSP Installation
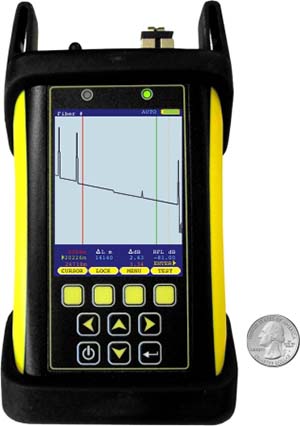
Optical Time-Domain Reflectometer (OTDR)
Used to measure signal loss and identify faults in the fiber.


Troubleshooting
Identify and address any issues found during testing, such as signal loss or faulty splices. Troubleshooting is essential for ensuring a high-quality OSP network.
Documentation
Keep thorough records of the test results and troubleshooting steps. Proper documentation is essential for future reference and network maintenance.
Planning for Future Repairs
It's vital to plan for the future by considering potential repairs and upgrades. This may involve ensuring accessibility to splice points, keeping detailed records, and having a maintenance plan in place.
Conclusion
An OSP installation is a complex and multi-stage process that requires meticulous planning, careful execution, and thorough testing. By following these stages and guidelines, you can ensure a reliable and efficient OSP network that connects people and communities to the digital world. From the initial design and equipment selection to the installation of fiber and comprehensive testing, each stage plays a critical role in the success of the project. With the right preparation and attention to detail, you can build a robust OSP network that stands the test of time.

