

Fiber optic cables have revolutionized the way we transmit data, providing faster and more reliable connections than ever before.
While we do sell pre-terminated fiber optic assemblies, many people still ask us "how do you fuse fiber optic cables together?" The answer lies in splicing, both fusion and mechanical.
Whether you're a professional technician or a DIY enthusiast, understanding the process of fusion splicing fiber optic cables is essential for maintaining high-speed communication networks.
In this comprehensive guide, we will delve into when and why you need to splice fiber optic cables, discuss how you can maintain cleanliness during the process, and walk you through the steps of fusion splicing, step by step.
When Do You Need to Splice Fiber Optic Cables?
Fiber optic cable splicing becomes necessary when extending or repairing existing optical networks.
You might need to splice fiber optic cables in scenarios such as:
- network expansion
- repairing damaged sections
- connecting two cables of different lengths
The precision and reliability of fusion splicing make it the preferred method for achieving low-loss connections in these critical situations. In the following sections, we will explore the intricate art of fusion splicing, which offers unparalleled performance and durability compared to other splicing techniques.
Fusion Splicing vs. Mechanical Splicing
Before we dive into the fusion splicing process, it's essential to understand how it differs from mechanical splicing.
Fusion splicing involves precisely melting the ends of two optical fibers together, creating a seamless connection that minimizes signal loss. This method offers the lowest attenuation and reflectance, making it ideal for long-haul telecommunications.
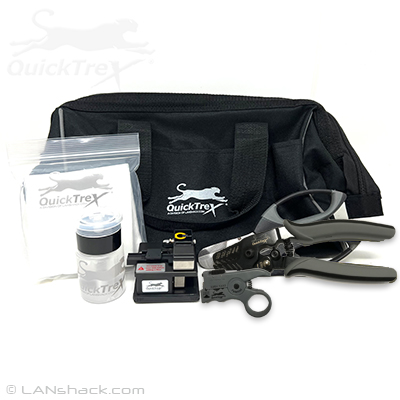
You can buy this fusion splicing kit here
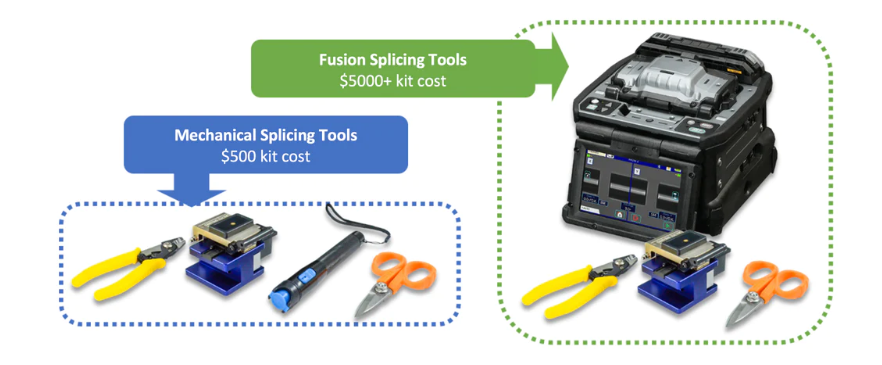
On the other hand, mechanical splicing aligns two fiber ends with a gel or air gap in between.
While it's quicker and doesn't require expensive equipment, mechanical splicing introduces higher insertion loss and reflection.
Importance of Keeping Fiber Optic Cables Clean During the Process
Maintaining cleanliness throughout the splicing process is paramount to achieving successful fusion splices.
Even the tiniest speck of dust or contamination can lead to signal degradation. In this section, we'll discuss the significance of cleanliness, explain the potential consequences of neglecting it, and provide practical tips for ensuring a dust-free environment.
How To Splice Fiber Optics with a Fusion Splicer (Step by Step)?
Now, let's dive into the heart of fusion splicing. We'll walk you through the step-by-step process of achieving precise and reliable fusion splices, from preparing the fiber ends to using a fusion splicer. This section will cover:
- Fiber preparation
- Fiber cleaving
- Loading fibers into the fusion splicer
- Performing the fusion splice
- Cooling and protecting the splice
- Properly storing the spliced fiber
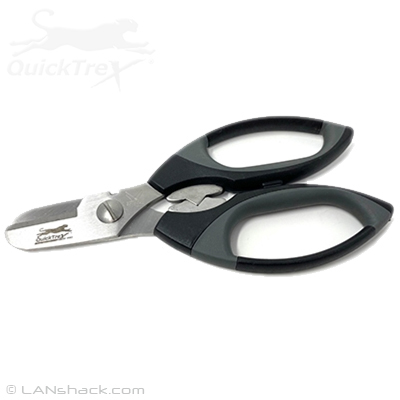
1 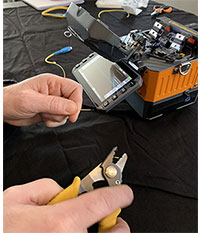
Prep Fiber Strip off the outside jacket. "Nibble" off outer jacket in about 30mm segments |
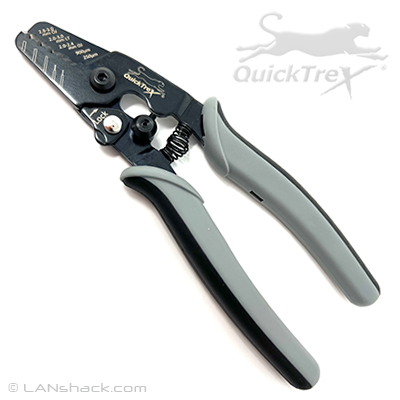
2 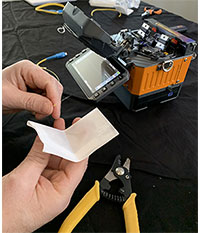
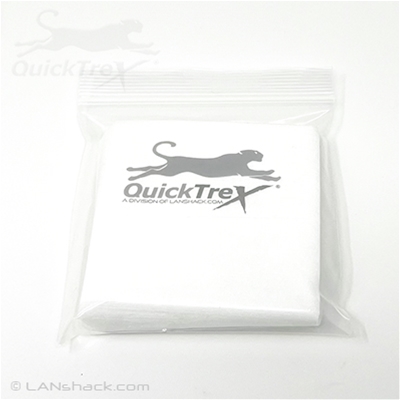
Take off coating Take off acrylate coating using the fiber stripper in a smooth perpendicular motion. Then, dab a lint free wipe in fiber optic cleaning solution to wipe off coating. |
3 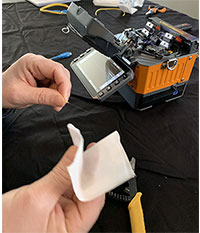
Clean Fiber Clean the fiber again with a lint free wipe. Slide the wipe towards the end of the fiber, once or twice, until it squeaks. The squeak indicates the fiber is clean. |
4 
Cleave the Fiber Cleave the fiber with a cleaver unit by opening the body cover and put the stripped fiber on the v-groove. Then close the holder cover. Close the main cover and move the slider forward to cleave the fiber. |
5 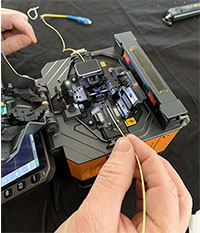
Clamp Fiber Place the fiber in the clamp style fiber holder and clamp down the fiber. |
6 
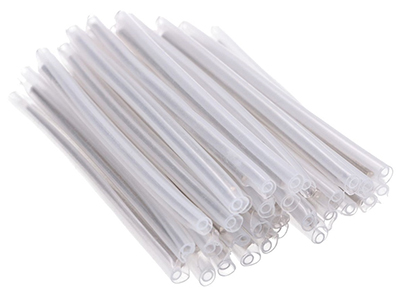
Splice Sleeve Repeat the process with the other fiber, but first put on the splice protection sleeve. |
7 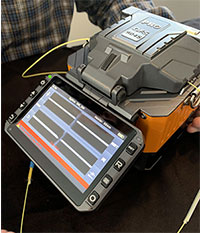
Close the Lid Close the lid and check for accuracy. Hit the set button once, and if there is a cleave error repeat the process. |
8 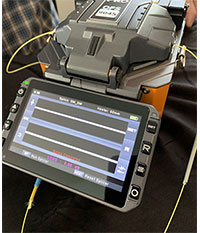
Set |
9 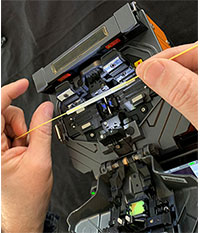
Slide Protection Sleeve |
10 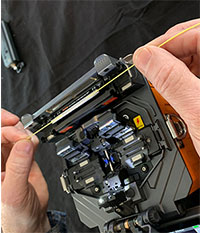
Protection Sleeve Heater Put the sleeve in the protection sleeve heater, close the lid, and the sleeve will set automatically. |
11 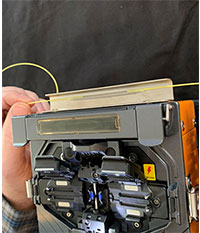
Cooling Tray Once the unit beeps to indicate it is complete, move the fiber to the cooling tray, and you're done! |
What Products Do I Need?
To perform fusion splicing effectively, you'll need the right tools and materials. We've compiled a list of essential items, many of which are available in convenient kits:


Mastering the art of fusion splicing fiber optic cables is a valuable skill that can enhance your connectivity projects.
Remember, precision, cleanliness, and attention to detail are your allies in achieving low-loss and long-lasting fusion splices.
With the right tools, techniques, and understanding, you'll be well-equipped to tackle the challenges of fiber optic splicing with confidence.