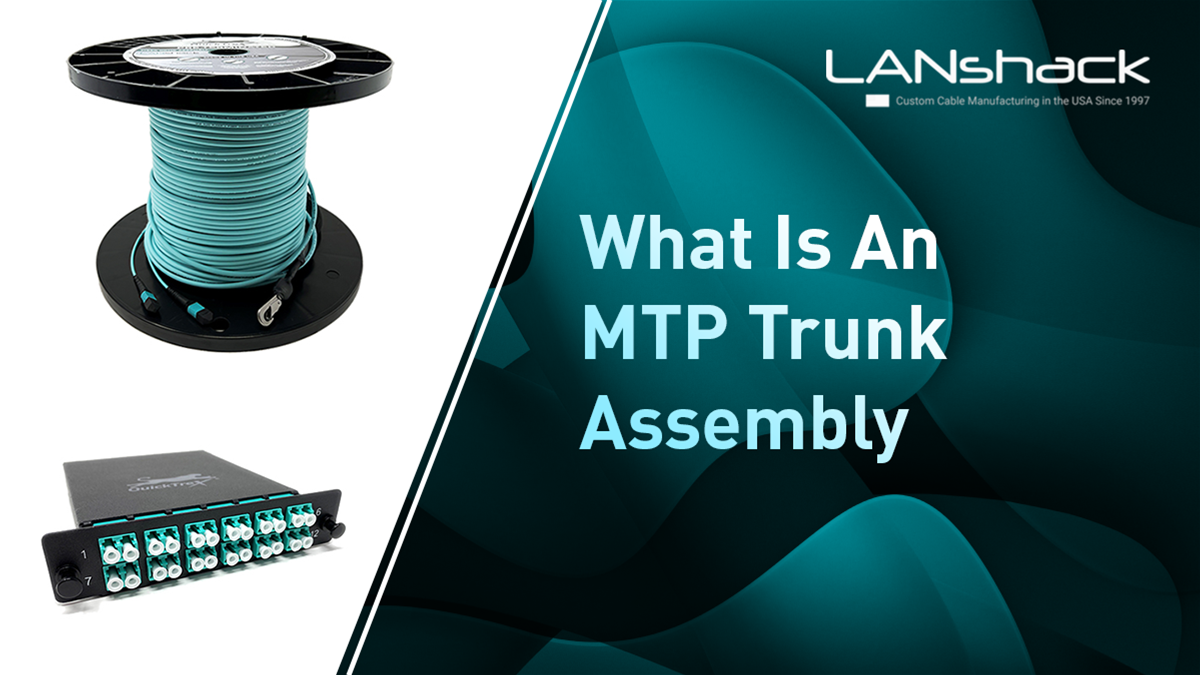


What is MTP trunk cable?
MTP/MPO trunk cables contain multiple fibers within a single sheath and usually have identical MTP/MPO connectors on both ends, available in 8-, 12-, 16-, 24-, or 32-fiber configurations.
They are commonly used in structured cabling environments to establish permanent links between switches or between switches and servers.
48-Strand MTP Trunk Assembly Overview
This trunk assembly features four 12-fiber MTP connectors, pre-terminated onto an outdoor-rated OSP loose tube jacket. It’s ideal for connecting buildings, running through conduit exposed to water, and other outdoor applications.
Key Differences: MTP vs. Standard Pre-Terminated Fiber
This assembly highlights the differences in construction and connectorization between standard pre-terminated fiber and MTP trunk cables.
Step-by-Step Breakdown of this MTP Trunk Assembly
Follow along with this video breakdown of Tom at LANshack showing the innerworkings of an MTP trunk assembly.
https://www.tiktok.com/@lanshack/video/7427639464354221358
Here’s a step by step breakdown of the assembly:
-
Start by removing the Pulling Eye Basket
-
Start by cutting off the pulling eye basket to expose the inner components.
-
Score the heat shrink in front of the connectors, allowing the basket to remain flexible.
-
Carefully cut and remove the heat shrink tubing.
-
Examine the Internal Structure
-
Beneath the heat shrink, electrical tape secures the pull rope and jacket, providing high tensile strength for pulling.
-
The MTP connectors are protected with plastic wrap or a bag to prevent water and debris from entering during conduit installation.
-
Inspect the MTP Connectors
-
Remove the protective wrap to reveal the capped MTP connectors.
-
A strain relief system ensures durability at the transition point from the heat shrink.
-
The subunits are color-coded and labeled, matching the fiber type (OM4 in this case).
-
Aqua-colored connectors are labeled 1 through 4 for easy identification.
-
Connecting to MTP Cassettes
-
These MTP connectors are designed to plug into MTP cassettes, highlighting the difference between a standard pre-terminated fiber assembly in a fiber enclosure versus an MTP setup in cassettes.
Next, we’ll showcase how to connect this MTP trunk assembly into MTP cassettes
Connecting MTP Cassettes to an MTP Trunk Assembly
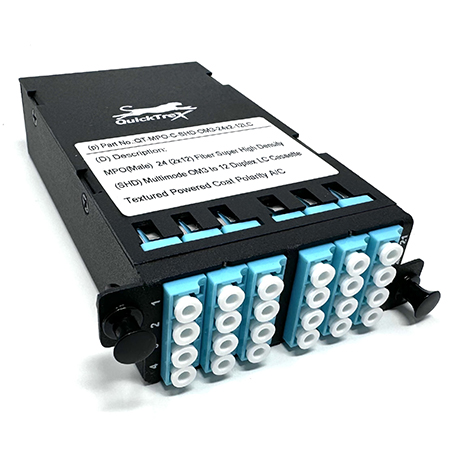
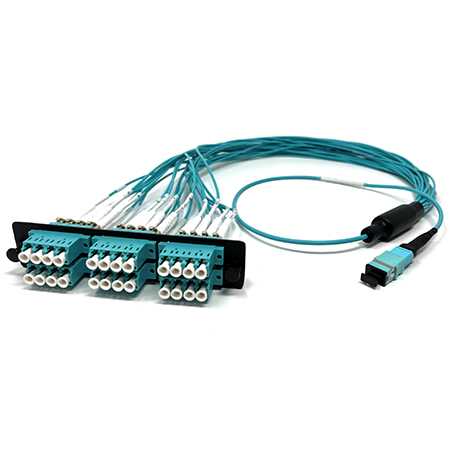
A 48-fiber MTP trunk connects to MTP cassettes using four 12-fiber MTP connectors. These cassettes are also available with 24-fiber connectors.
We sell cassettes that are 1x24 meaning they have one connector in the back and transition to 24 connectors you can plug into MTP assemblies.
Before we start, what options are there for connectors?
Featured Products You'll Need For This Set up
Before connecting, it's important to consider the available connector options:
-
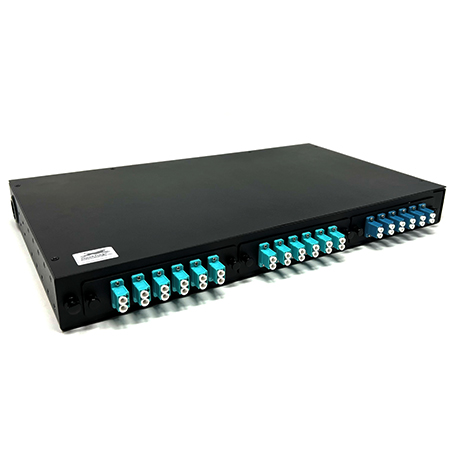
LGX Chassis Enclosure – a rack mount enclosure for interconnectivity of MTP©/MPO trunk assesmblies and fanouts
-
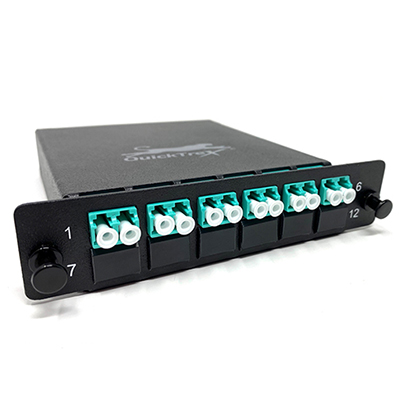
LGX Cassette - A common industry-standard cassette format. These cassettes are designed to fit our standard LGX termination box enclosures.
-
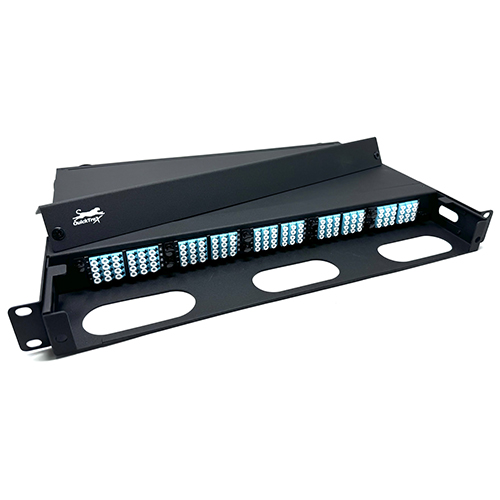
SHD MPO Cassettes – "Super High Density" (SHD) cassettes, allowing five to fit in a 1U rack for maximum fiber capacity.
-
1U Rack with Three Panels – Accommodates three cassettes side by side.
-
MTP/MPO to LC Harnesses – A budget-friendly alternative built in-house. Unlike cassettes, which house the fanout internally for a cleaner look, harnesses have exposed breakout cables.
Some notes about the LC harnesses vs MTP Cassetttes:
These are a more budget friendly option. They serve the same purpose as MPO cassettes, but the difference is that with the cassette the fanout is all housed within the cassette itself. This gives a much more clean look for cleaner cable management without loose wires everywhere.
The second reason to use an MTP/MPO cassette is that they are industry standard, meaning they are always male connectors. Sometimes people order female connectors and wonder why they can’t get it connected when they go to start their installation.
Connecting the MTP Cassettes
-
Insert the MTP cassettes into the 1U rack.
-
Ensure fibers are in the correct order:
-
1–12
-
13–24
-
25–36
-
37–48
-
Start with strand 1 and plug in the MTP connectors.
-
Once all four are connected, the system is ready for use.


